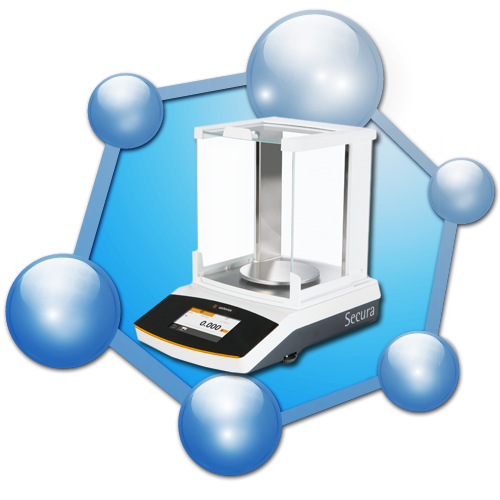
We can offer UKAS Scale Calibration on all leading manufacturers of laboratory Scales and industrial scales.
Request a Quote View our Accreditation- Levels of UKAS Scale Calibration
- About Your UKAS Scale Calibration Certificate
Levels of UKAS Scale Calibration
UKAS Service Level: As Found Check + Full Post Adjustment Calibration
- Perform a 5 point check of the linearity before the equipment is serviced or adjusted. This documents how the scale was performing before it was adjusted/calibrated and is detailed on the certificate.
- Scale is serviced and adjusted where applicable.
- Full Post Adjustment Calibration performed testing: Linearity at 10 points, Repeatability and Eccentricity and calculation of the uncertainty of measurement. UKAS certificate Issued.
UKAS Service Level: Full As Found & Full Post Adjustment Calibration
- Full As Found Calibration performed testing: Linearity at 10 points, Repeatability and Eccentricity and calculation of the uncertainty of measurement. UKAS certificate issued.
- scale is serviced and adjusted where applicable.
- Full Post Adjustment Calibration performed testing: Linearity at 10 points, Repeatability and Eccentricity and calculation of the uncertainty of measurement. UKAS certificate Issued.
UKAS Service Level: Full As Found Calibration
- Full As Found Calibration performed testing: Linearity at 10 points, Repeatability and Eccentricity and calculation of the uncertainty of measurement. UKAS certificate Issued.
- Equipment will not be serviced or adjusted or Post Adjustment calibration performed unless requested by the customer (additional charge applies).
About Your UKAS Scale Calibration Certificate
Certificate of Calibration
This document is issued in accordance with our UKAS accreditation 0438 and consists of at least two pages. Page 1 details the standards used and their classification together with the customer and instrument details, it may as well detail the site environment depending on the type of instrument. Page 2 and further pages will detail the actual calibration data the details of which are detailed below.
Calibration Type
The certificate will show ‘As Found’ results for Linearity and ‘Post Adjustment’ results for Linearity, Repeatability & Eccentricity. Customers can advise if a full ‘As Found’ or any addition tests are required. If the instrument is fitted with a calibration adjustment facility then this is activated prior to the Post Adjustment results, customers are advised to activate this before each series of weighings. If used, we would recommend that the customer carry’s out a daily check of their artefact immediately before and after the full calibration to establish a history of calibration.
Repeatability Test
This involves at least five repetitive weighings near the capacity of the range under test. The values at zero and test point are detailed together with the difference between the readings.
Linearity Test
This test involves at least five weighings through and to the maximum of the range under test. European Instruments carry out this test after activating any internal calibration adjustment device. The applied load together with indicated value are detailed as is the maximum difference between the two.
Eccentric Loading
This test details the effects of placing a load of at least a 1/3 of the range under test on the load receptor. The load is then moved to the positions as noted on the certificate and the largest reading from either centre reading noted.
Uncertainty of Measurement
This is calculated in accordance with an approved formula taking into account the following:
- The maximum permissible error of the largest weight used.
- The drift of the weight in 6.1 (usually the same as 6.1).
- The standard deviation of the readings in 3 above.
- The readability of the instrument for digital rounding effect.
- The readability of the instrument for digital rounding at zero.
- An air buoyancy correction (usually 1 part per million of the range).


